Pantry Organization on a Budget in 3 Simple Steps
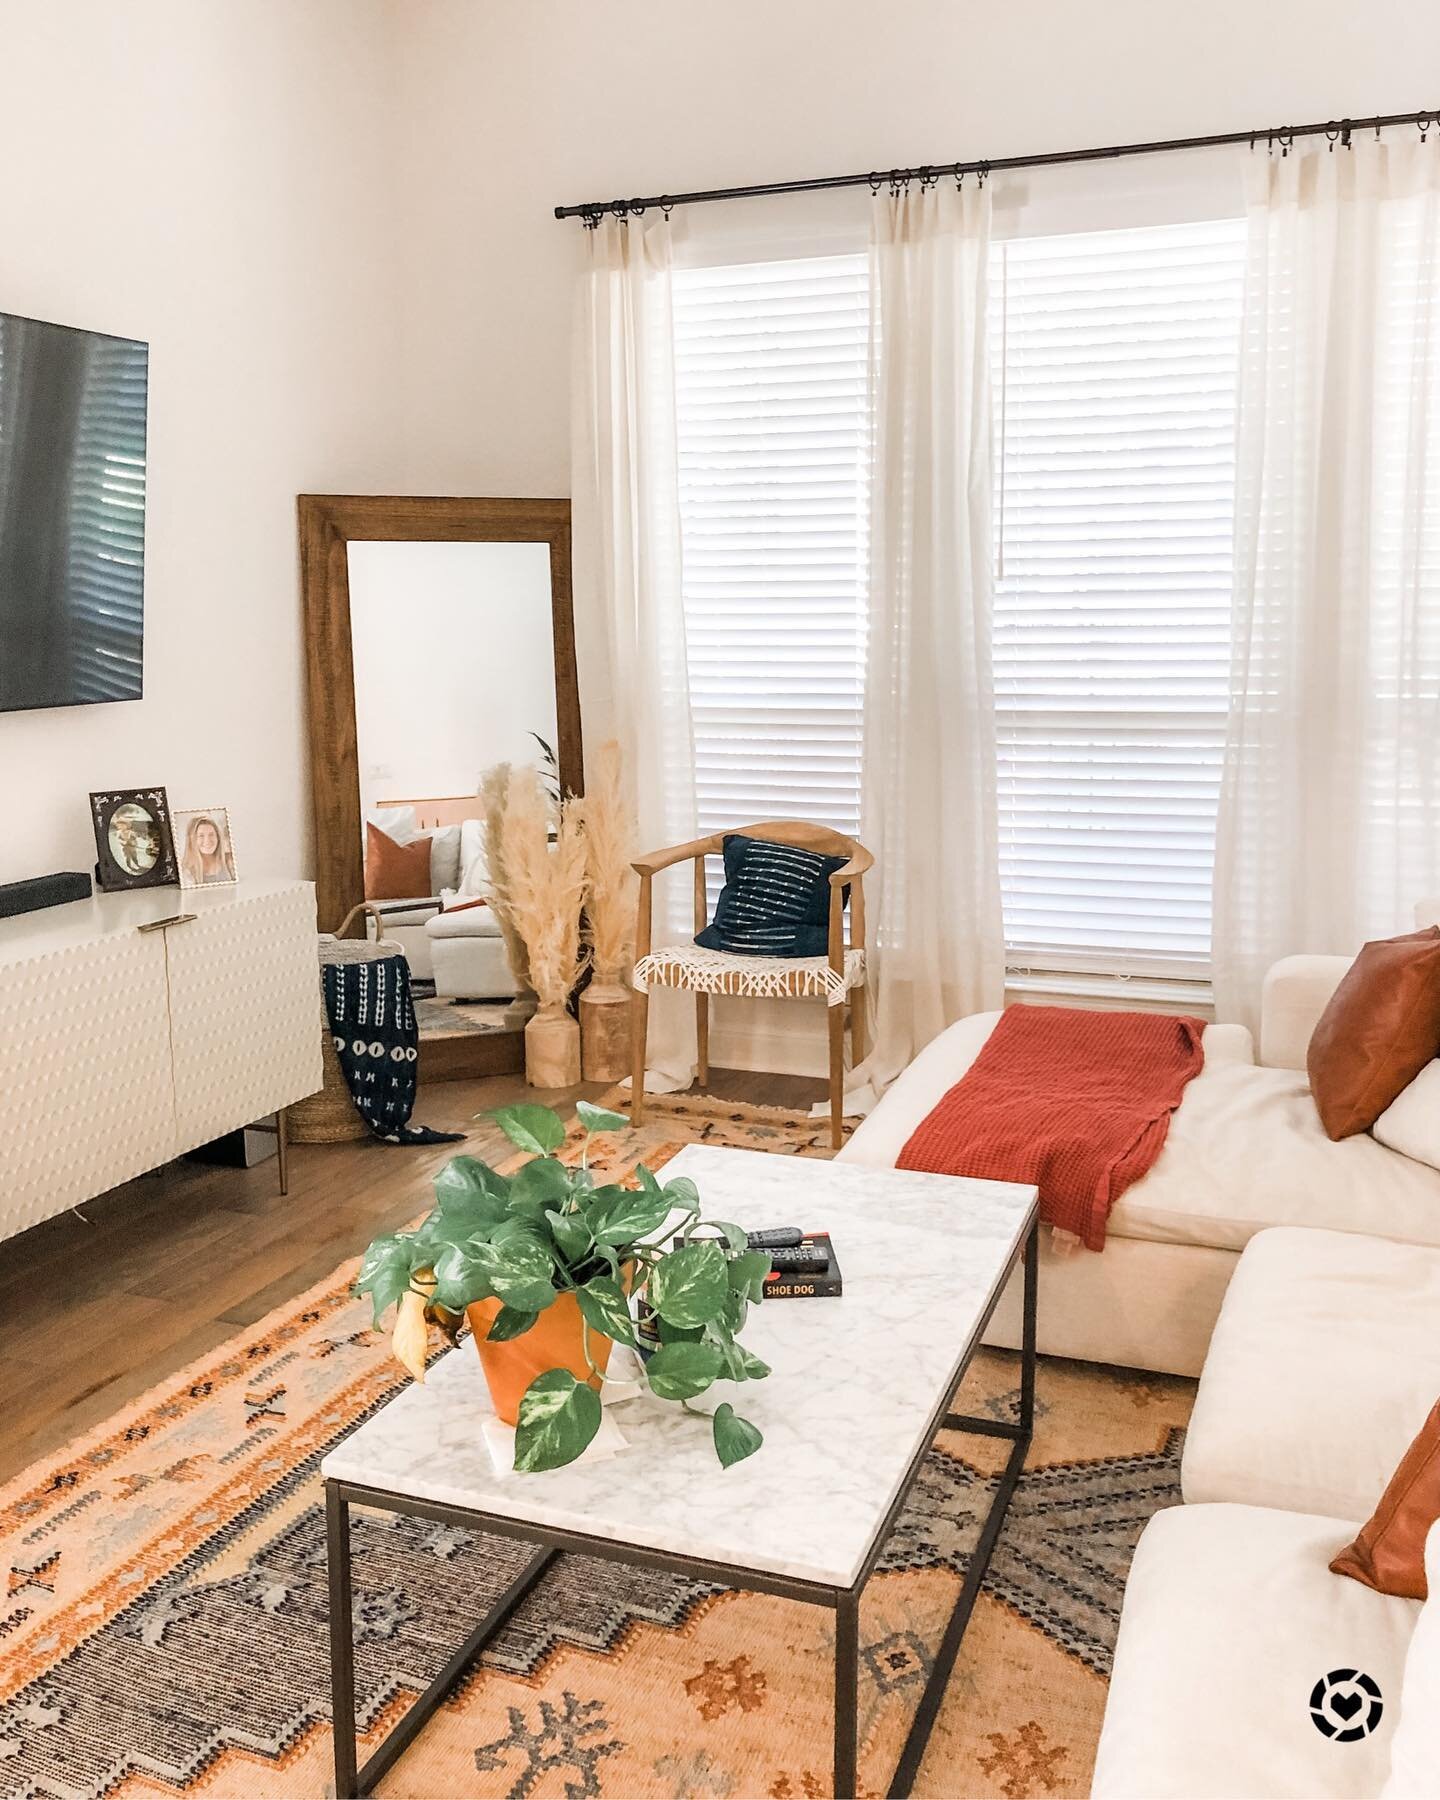
/We have officially been in our new house for 8 months! When we first moved in, we tackled so many projects; and still continuing. One of the projects on my long list was our pantry. Upon moving in, we literally just threw everything in there and shut the door. For us, we use the pantry every day. Now that we can have guests over and entertain, I wanted to make sure this somewhat high-traffic area in our kitchen was put in order and that our pantry organization project was done on a budget.
Step 1
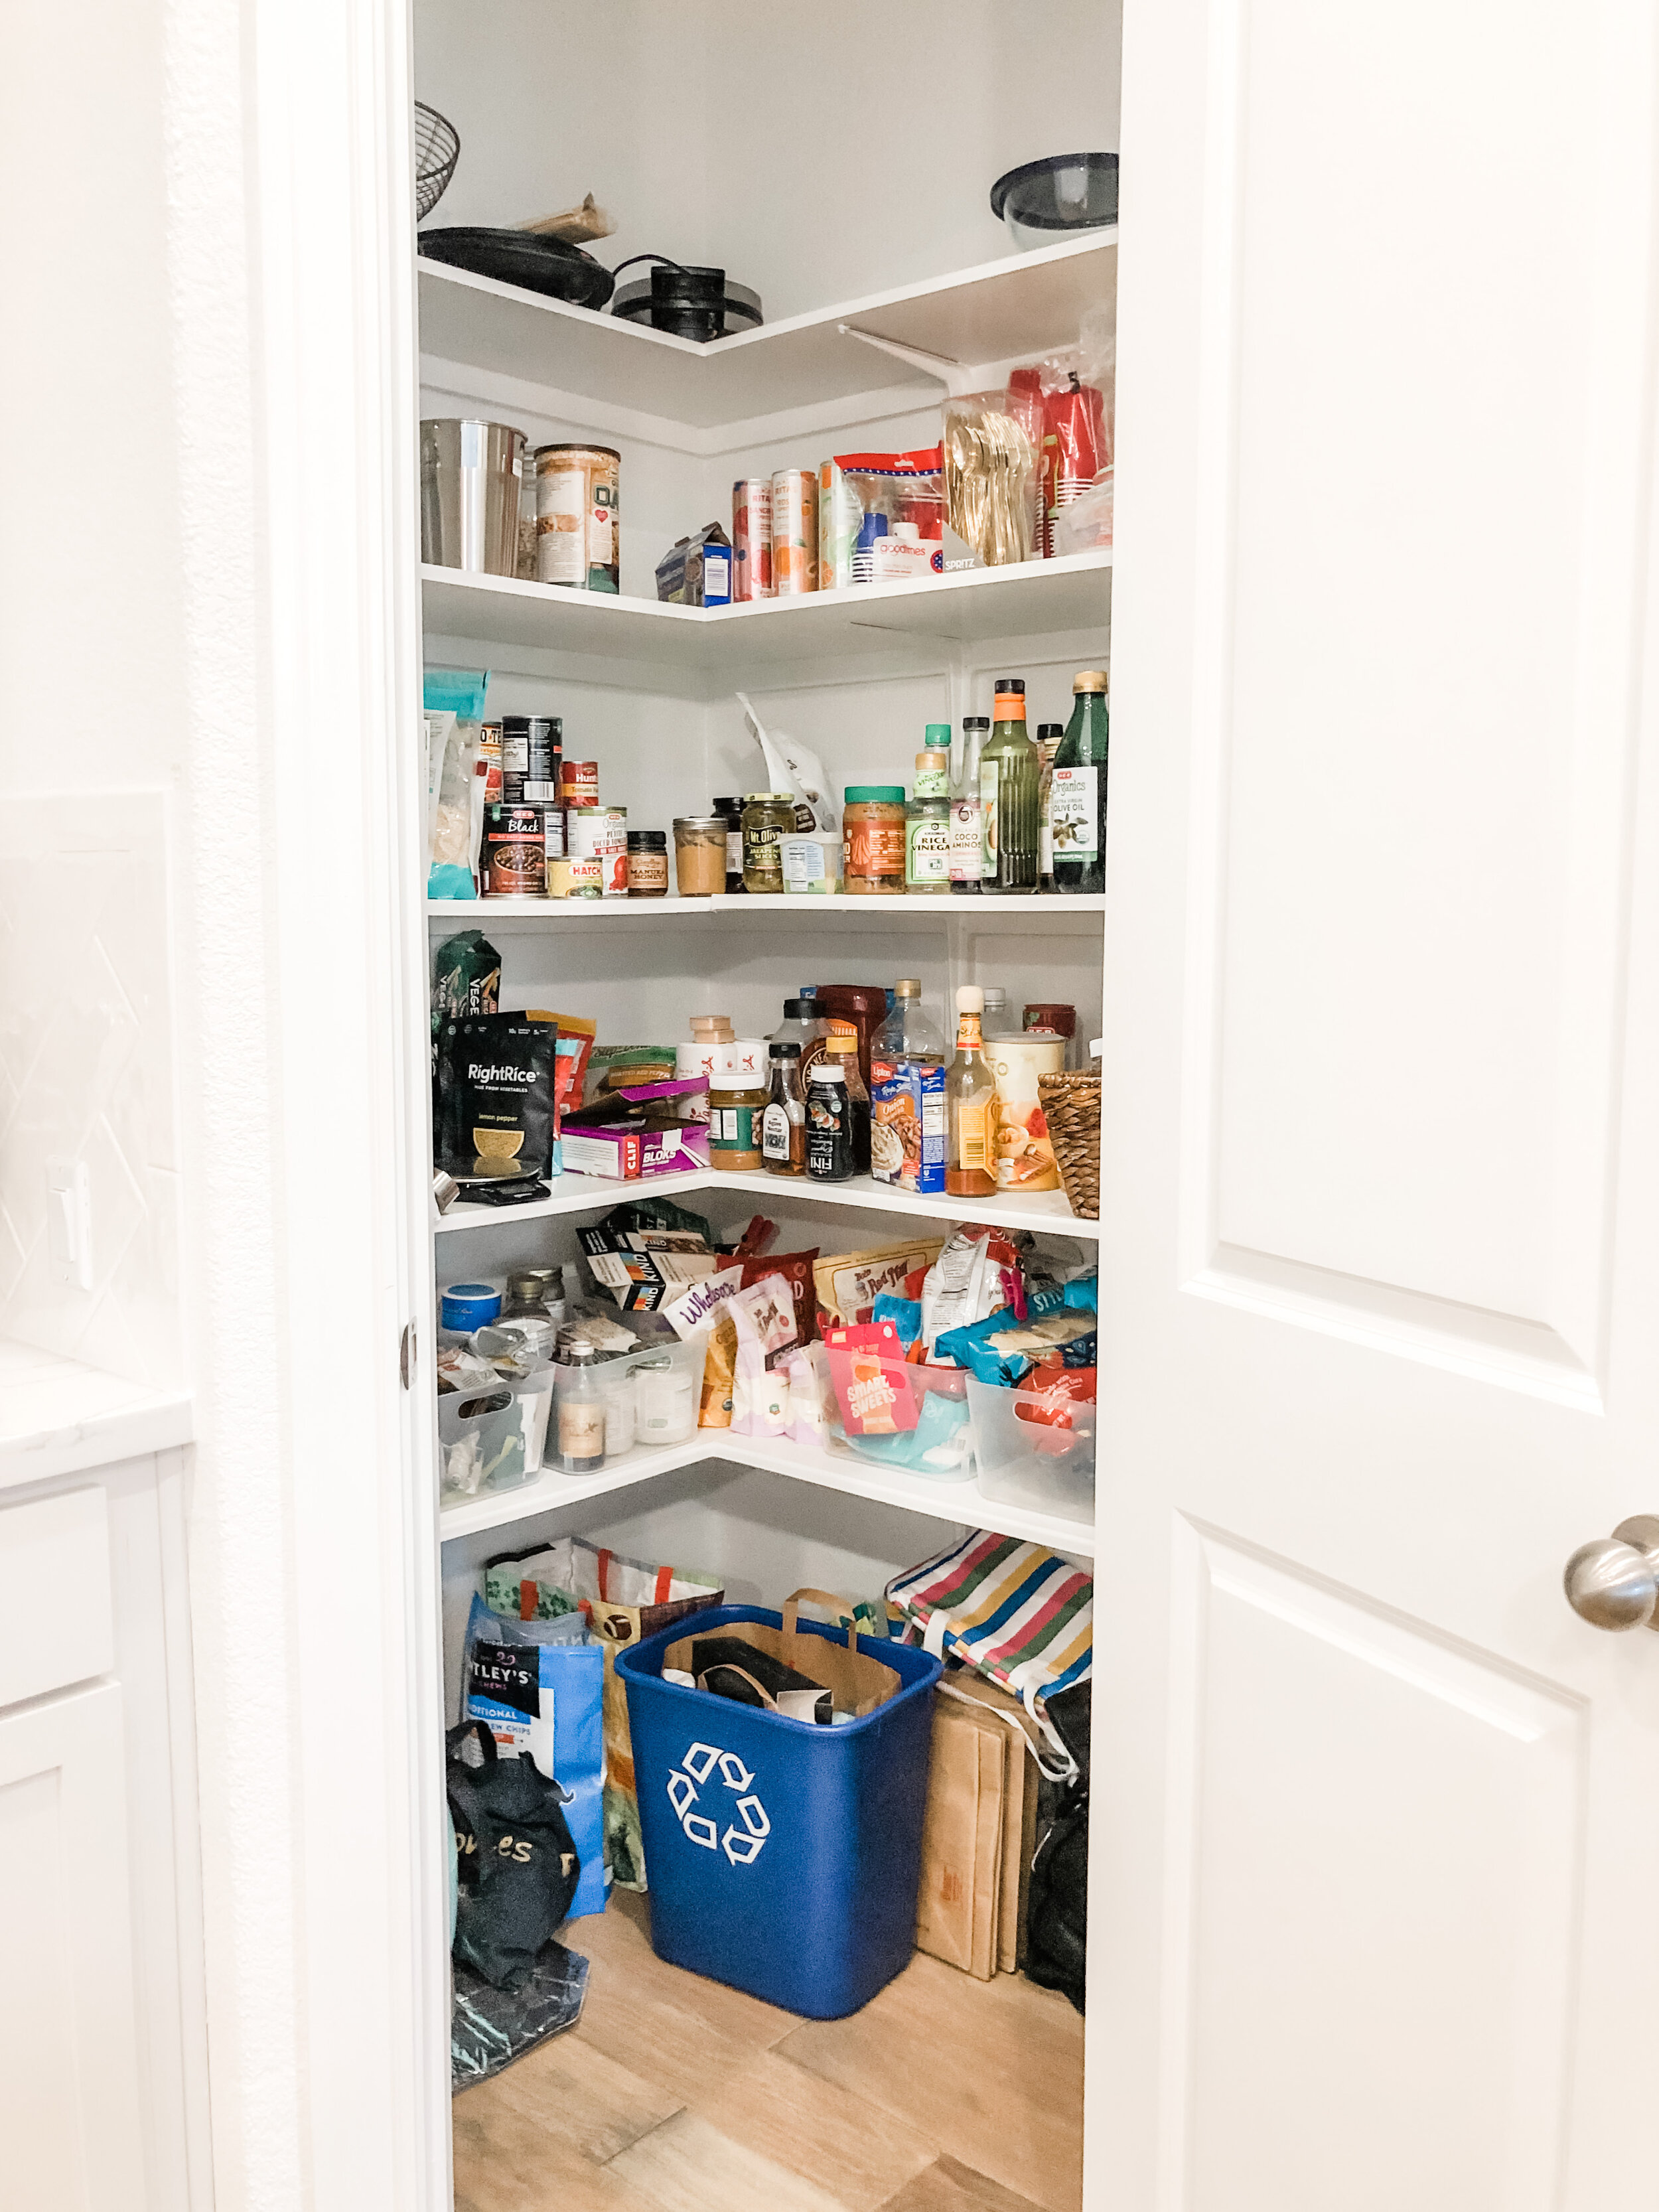
The first step to organizing our pantry on a budget was to clear out every item that was in there. It took me about 20 minutes to remove everything and set it on the counter. Holy moly! I am not sure where all this stuff came from. I began by organizing into groups— pasta, boxed goods, snacks, canned goods, baking goods, etc. From grouping, I checked the dates on every item and threw out all the things that expired. I filled out a trash can full of expired food!
Step 2
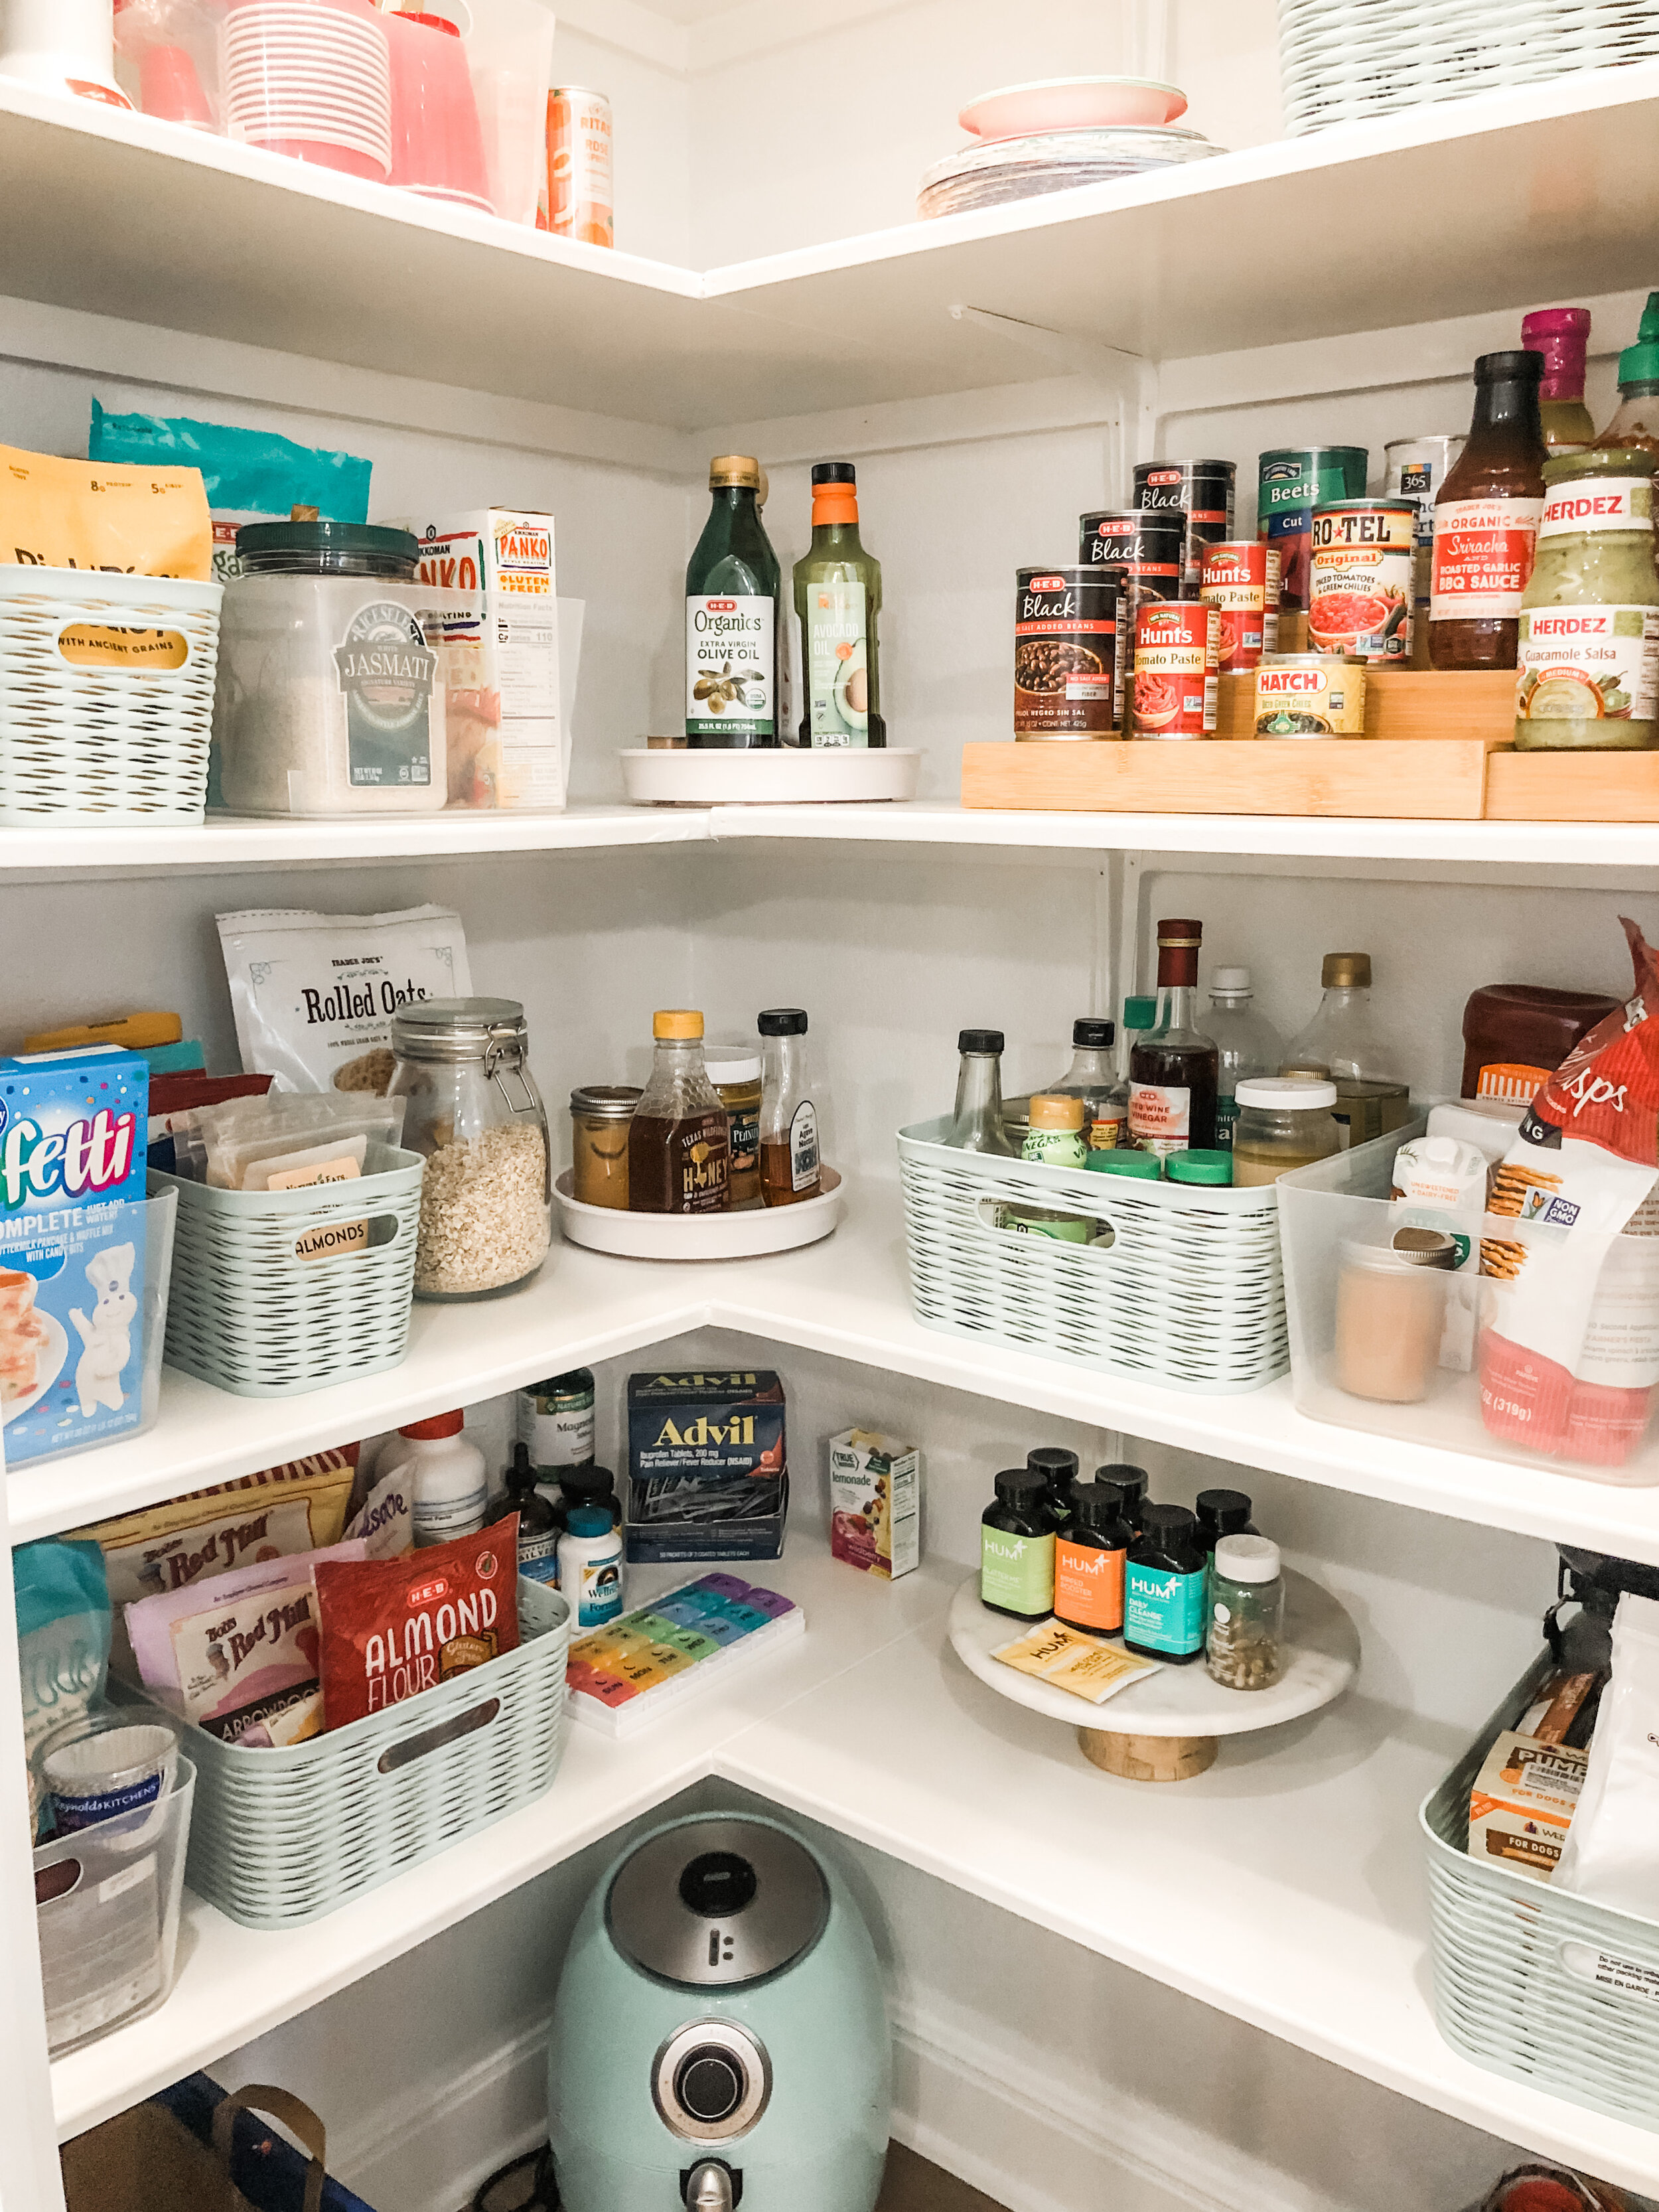
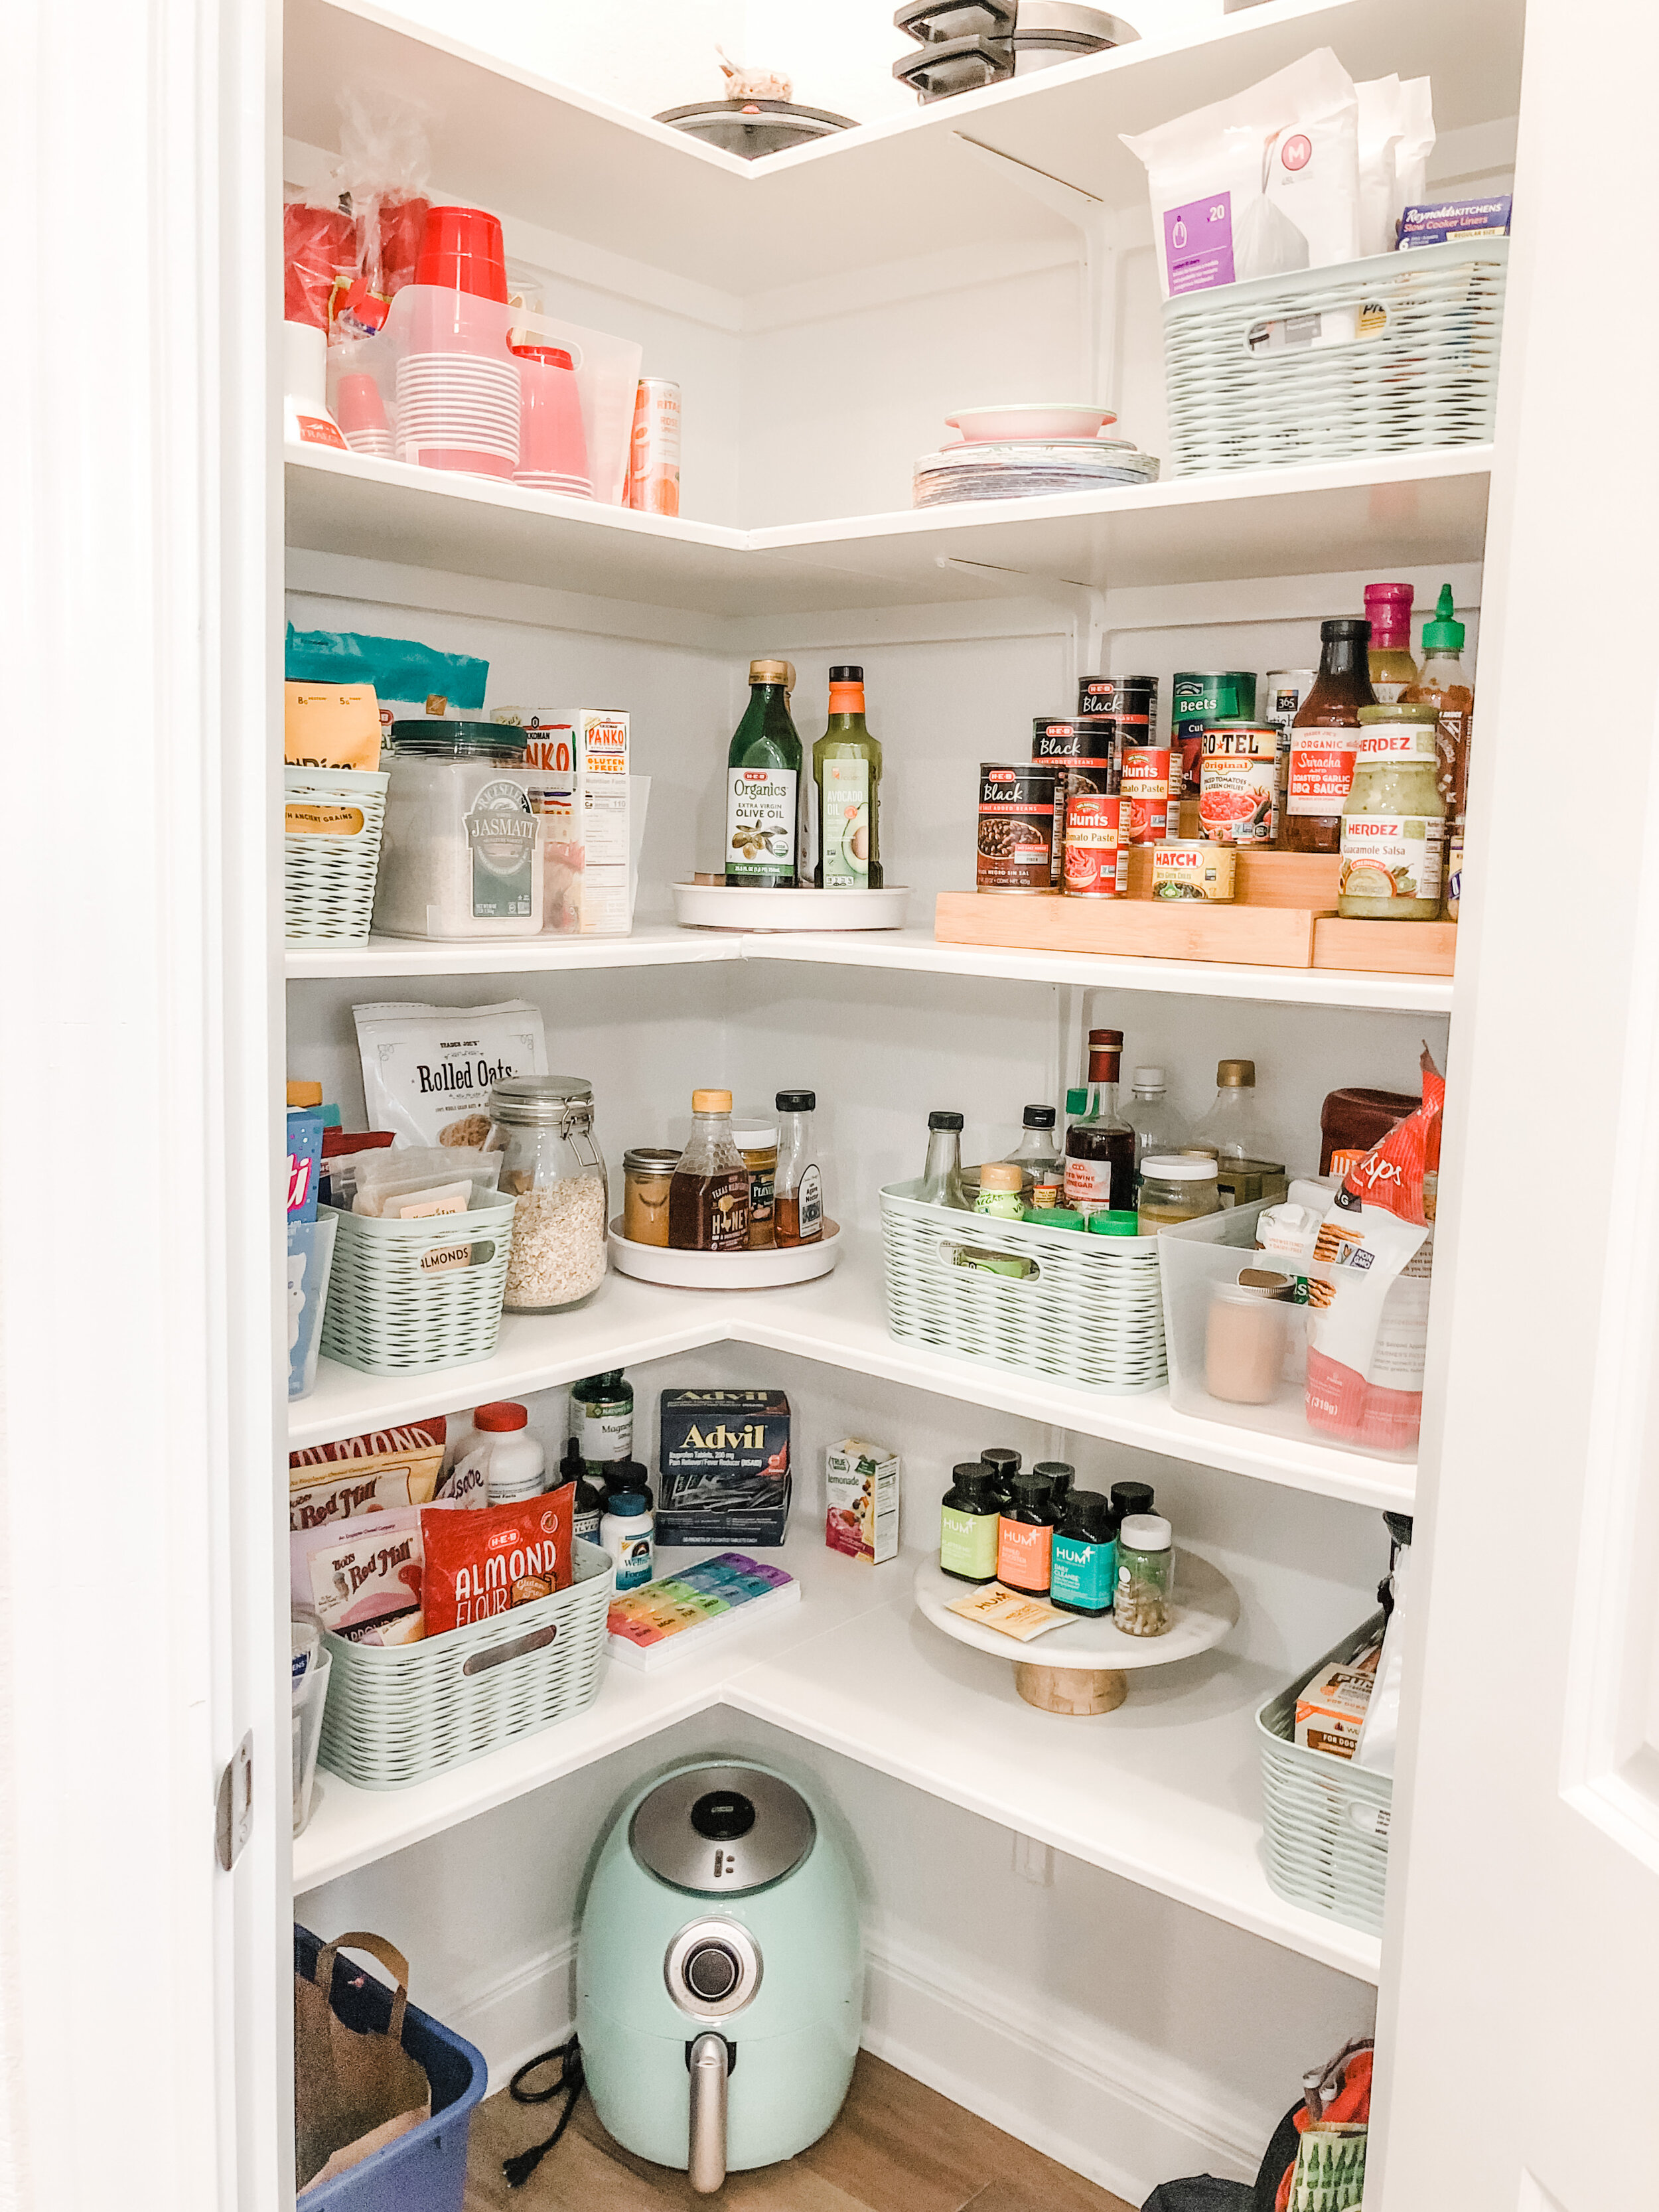
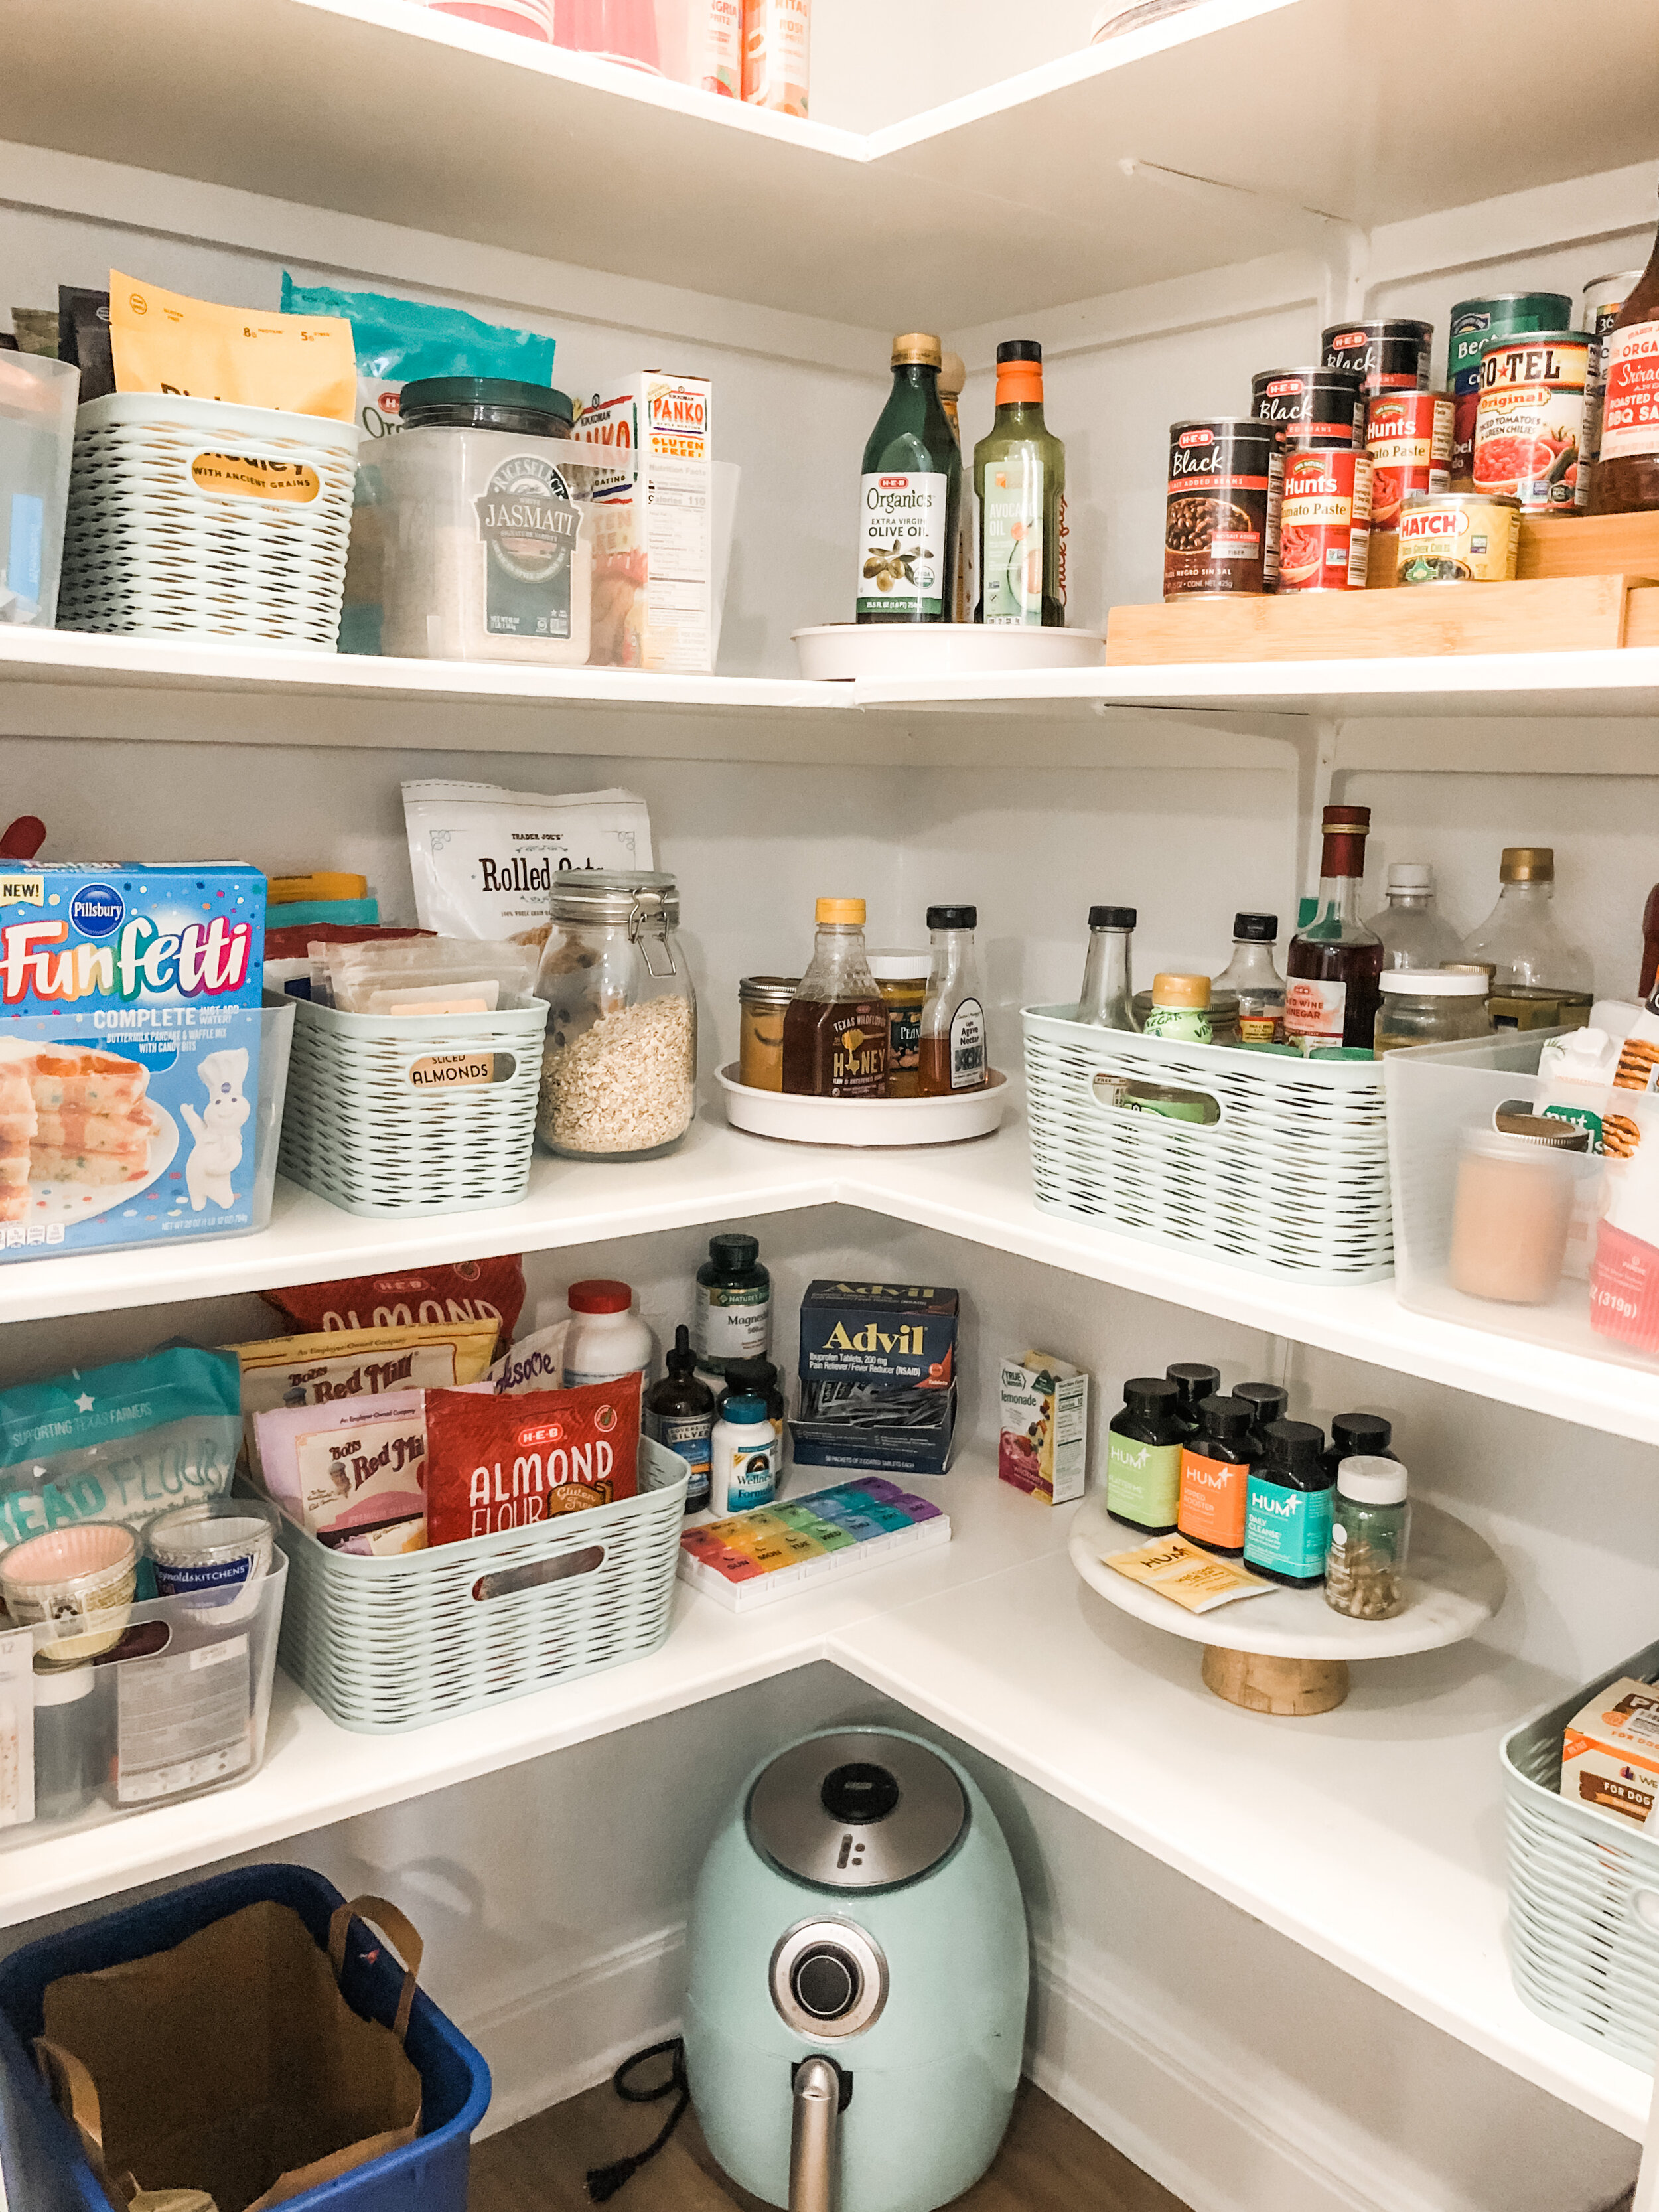
Now that everything was laid out and organized, I was able to see what I had already and what organization tools I needed from the store. Typically, I see wooden or wicker bins being used or clear acrylic containers. I wanted to be a little different and go with a bit of color. Target had everything I needed to organize our pantry on a budget. I found the perfect mint colored bin, and they were all under $9! You will know that all of our kitchen accessories are in mint or light turquoise color if you know me. I grabbed a few bins in all different sizes. Two lazy-susans — these things are fantastic! If you don’t have one— you need one! They are so convenient. Just spin her around, and you get the item you need without having to move anything! One the Lazy-Susans, I placed our most used condiments (Cholula, Olive oil, Chick-Fil-A sauce). I also made one Lazy-Susan for the more breakfast type condiments such as honey, agave nectar, peanut butter, almond butter, etc.
For the canned items, I got a 3 Tier Bamboo Expandable Step Shelf. I have been wanting one of these forever! This makes it so easy to see every canned item you have—another “must-have” product for your pantry.
Step 3
Now that I had all the bins I needed, I placed each food group into separate compartments. For example, I made a “snack” bin, a bin for rice, a container for pasta, baking goods, sauces, and so on. I placed all the canned goods on the 3 Tier Bamboo Shelf.
Cleaning out our pantry and reorganizing it felt so good and even better than it was done on a budget! Now, if your pantry is an unorganized mess, I hope this project of mine has inspired you to go and get organized!! This project was very affordable. All the items used in this project are linked here.
As we finish organizing the rest of our home, I am excited to find more tips and tricks to share with all of you. For example, I recently heard about Junk Queen TX, and I would have 100% looked into their services if our pantry was more of a massive undertaking when it came to removing junk. If we have a renovation project in the future, their services might come in handy. They provide dumpster rental services with a 5-star service reputation, fair-low pricing, responsiveness and deep respect for their valued customers. When you have a lot of junk, renting a dumpster is the most affordable and convenient way to go. You dump it all, and they pick it up, and get rid of it for you. Easy, peasy. If you need trash removed, furniture picked up, or rubbish cleared away from your home or business, check out their junk removal services.
Happy organizing!